How to Create Your Own Meal Plans
The Premium Meal Planner allows you to create personalized meal plans that suit your eating preferences and weight loss goals. Planning your food in advance can make it easier to stay within your calorie target, reduce last-minute food decisions and bring more structure to your day.
This guide will show you how to create, schedule and verify your meal plans.
How to Set Up Meal Plans
When it comes to setting up your own meal plans, there are 4 key steps:
- Create your meal plan
- Add foods to your meal plan
- Save & schedule your meal plan
- Verify your meals to log them to your Diary
1. Create Your Meal Plan
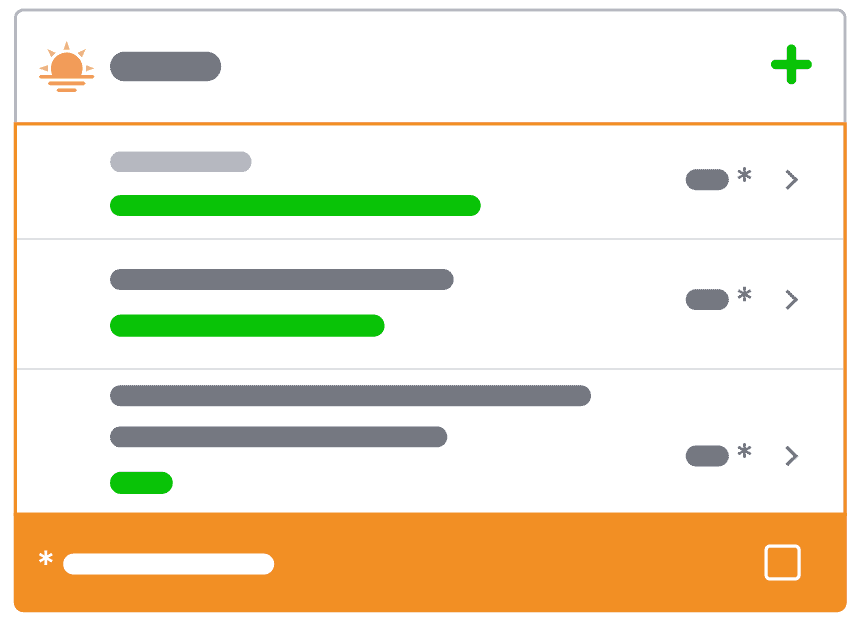
Open the Premium homepage and select Create your own Meal Plan. This will take you to the My Meal Plans page, where you can view any current or scheduled meal plans, including Dietitian-designed plans you may have downloaded.
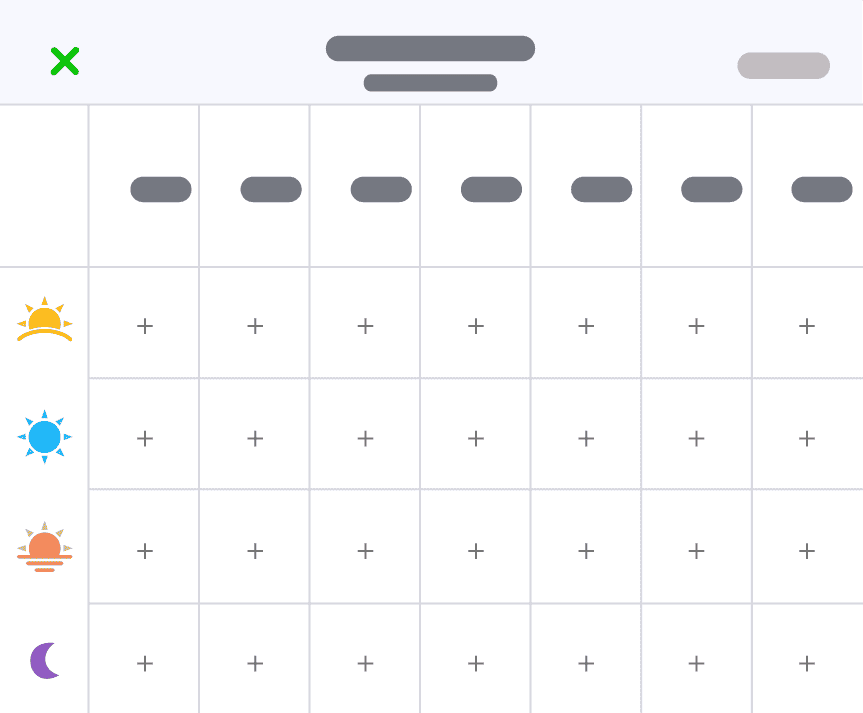
Tap Create New Plan at the top to begin. This opens the meal plan overview page (a table), where you can start adding foods to each day. The table will show all of your enabled meal types. If you have not added custom meal types, you will see the standard options: breakfast, lunch, dinner, and snacks.
2. Add Food to Your Meal Plan
Tap '+'
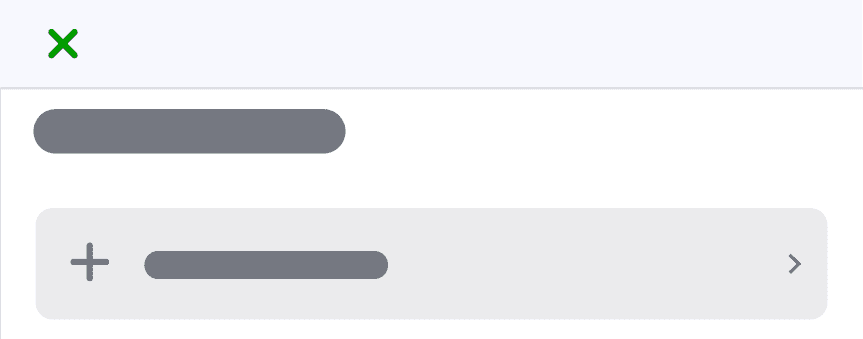
The first step to adding a meal to your meal plan is to tap the + symbol in the meal plan overview table. This will open the food add page.
From here, you can add foods using any of the available options, including:
- Food search
- fatsecret approved recipes
- Foods from Most Eaten, Recently Eaten, Saved Meals, or your personal recipes in your CookBook
Search for a food or recipe to save it to the meal plan. Once the food is added, you will return to the Meal Planner overview table, where the calories for that meal will update automatically.
Continue Adding Meals
Continue adding foods to the rest of your Meal Planner. You do not need to fill every meal for the plan to be useful.
If you tap on a meal you have already added, you can view the foods included and add more items, edit existing ones, or remove them.
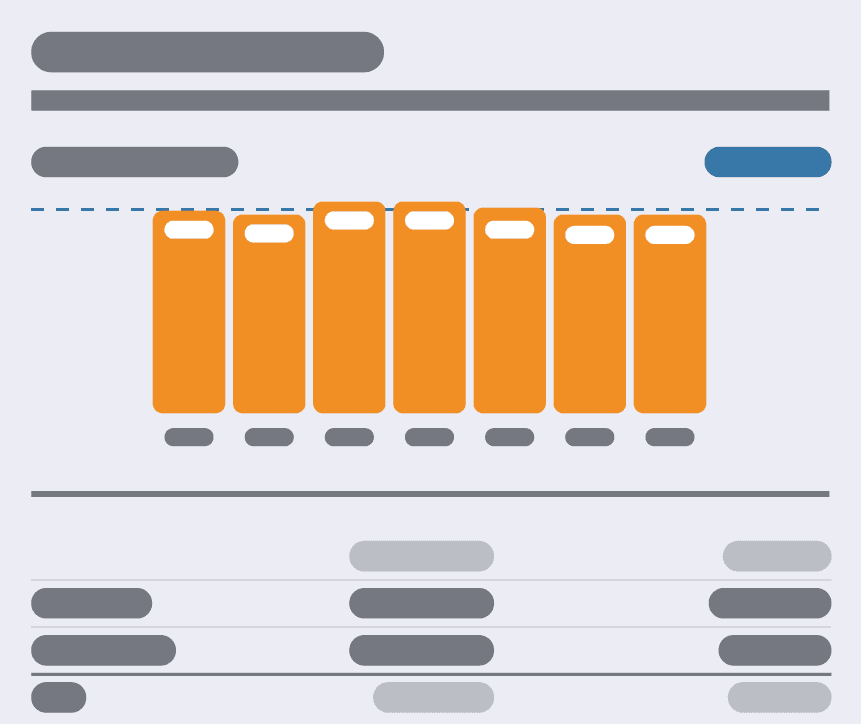
As you add foods, the daily average calories shown below the meal plan table will update automatically, giving you a summary of your average calorie intake and macronutrient ratios.
Review Nutrition Summary
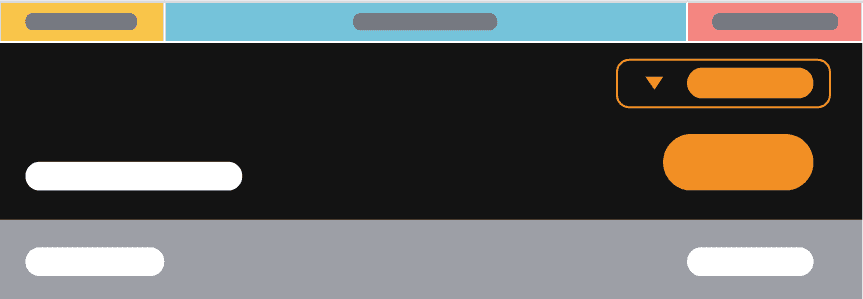
Below the meal plan table is a summary of your meal plan. The summary includes:
- Your daily calorie average
- Your RDI (recommended daily intake, based on your current and goal weight)
- Your meal plan in detail, including all the foods in each meal
- A nutritional summary of your meal plan (at the very bottom).
As you add or adjust foods, these values update automatically. This allows you to see how your meal plan compares to your RDI and make adjustments if needed.
Ideally, your meal plan should sit close to your RDI, helping you structure your food intake in a way that supports your weight loss goals.
Tip: If you’re unsure how to structure a weekly meal plan, take a look at our Dietitian-designed Meal Plans. You can download one, duplicate it, and edit it to suit your preferences.
3. Save and Schedule Your Meal Plan
Tap ‘Next’
Once you have finished curating your meal plan, tap 'Next' at the top right of the screen to save changes and continue. Now you can schedule the plan to your Diary and make a commitment to yourself!
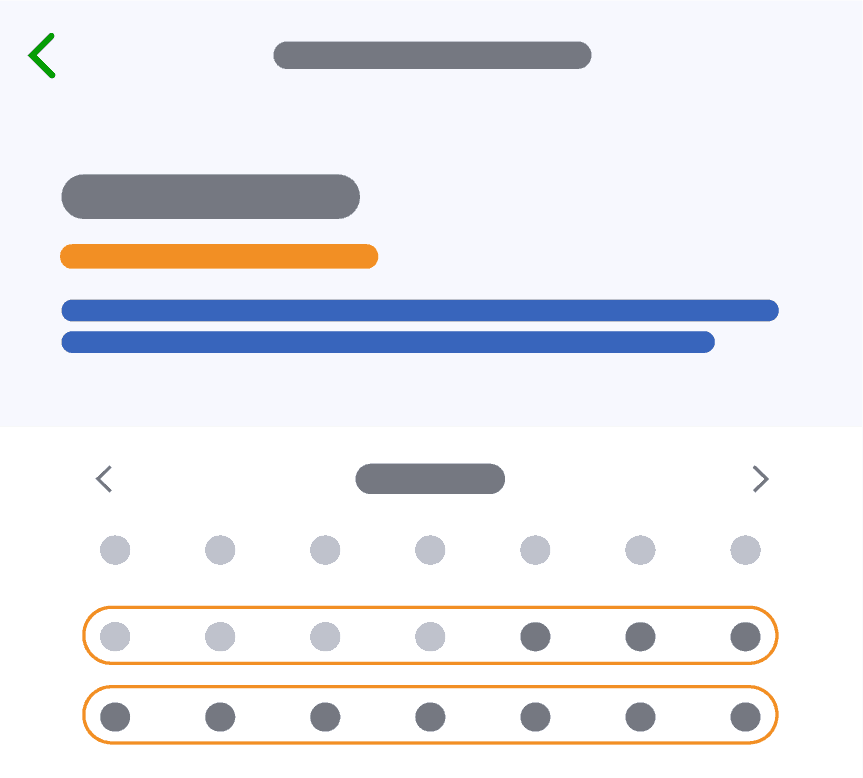
Select the week, or multiple weeks, you want to schedule your meal plan for and tap ‘Done’ to schedule them to your Diary.
We recommend giving yourself at least a few days to do your grocery shopping before starting your plan.
View Your Shopping List
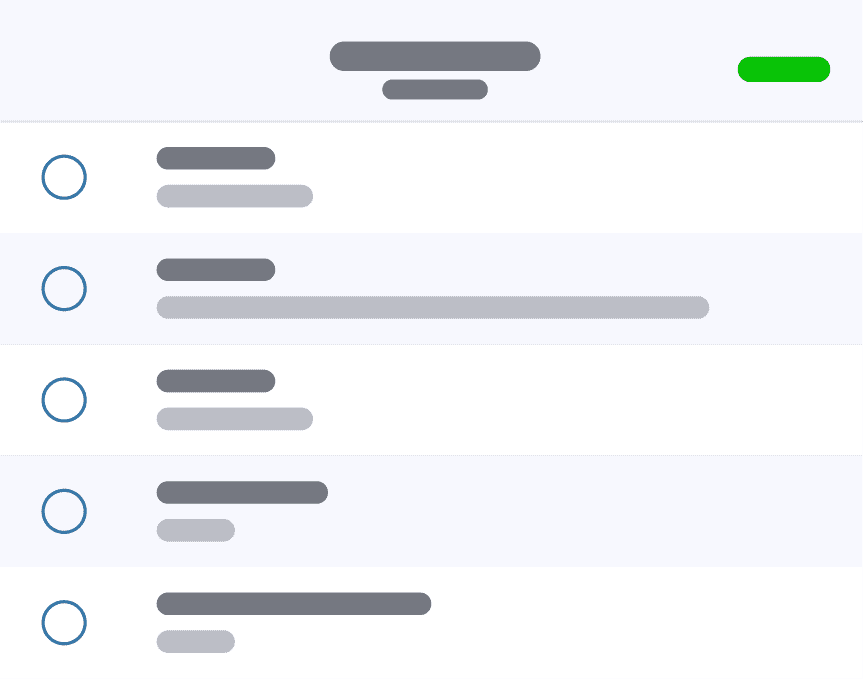
When you are ready to go grocery shopping, tap on the shopping cart icon (next to the scheduled dates) to bring up your shopping list. This list includes quantities of all the foods that make up that meal plan and makes shopping for your meal plan simple!
4. Verify Your Meal Plan
Once your meal plan is scheduled and the start date arrives, your planned meals will appear in your Diary each day. To log these foods to your calorie count, you will need to verify the meal.
Until a meal is verified, the foods are not logged against your daily calorie total.
If you ate the meal as planned, simply tap “I ate these foods.”
If your food changed, you can edit the items or add additional foods before verifying the meal.
Once verified, the foods will be logged to your Diary and included in your daily calorie count.
During your scheduled meal plan period, all you need to do is open the fatsecret app each day and verify your meals to log them.