How to Use Dietician-Designed Meal Plans
Not sure where to start with planning your meals? Premium Dietitian-designed Meal Plans can help.
These meal plans provide a structured way of eating that supports your weight loss goals without the need to plan every meal yourself. By following a pre-built plan, you can spend less time deciding what to eat and more time focusing on building consistent habits.
They can also help you learn how balanced meals come together, making it easier to plan your own meals over time and develop a style of eating that works for you.
This guide will show you how to get the most out of Dietitian-designed Meal Plans including how to save, edit, schedule and verify your plan.
How to Set Up a Dietician-Designed Meal Plan
When it comes to using Dietician-designed meal plans, there are four key steps:
- Download and save your meal plan
- Review and edit your meal plan
- Schedule your meal plan
- Verify your meals
1. Download and Save Your Meal Plan
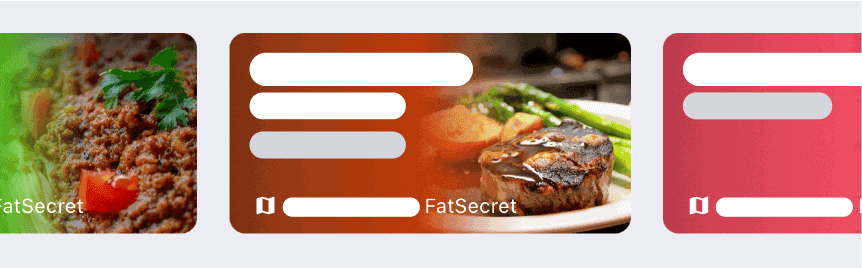
Browse Meal Plans
Browse available Meal Plans via the carousel at the top of the Diary page. Alternatively, you can tap ‘Schedule your next Dietician-designed Meal Plan’ on the Premium page, which will show the list of available meal plans. You can tap on each Meal Plan to read about the diet and what foods are included.
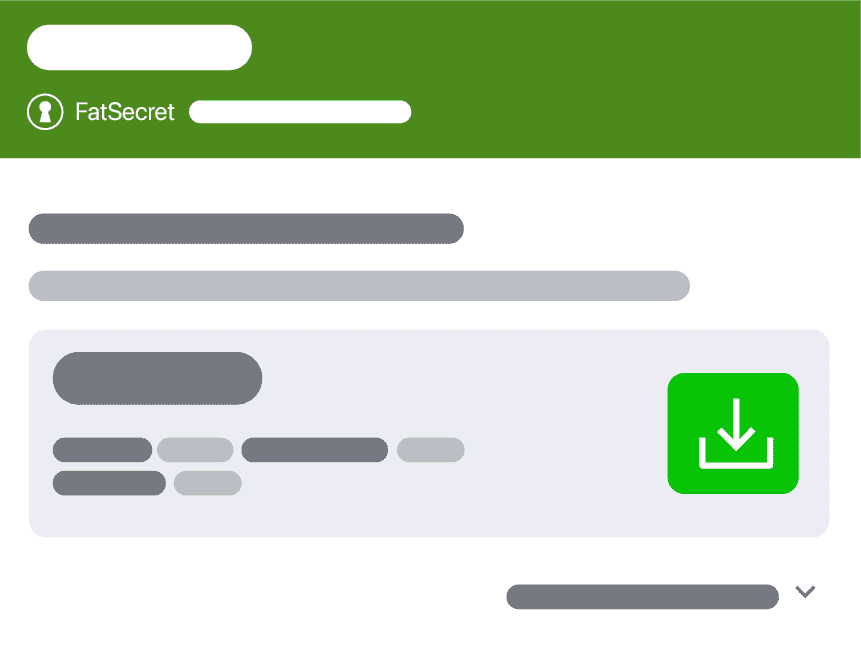
Download and Save
When viewing a Meal Plan, you will see the calorie plan that is ‘recommended for you’. This plan is closest to your RDI; however, if you want to choose a different calorie plan, you can view them by tapping ‘show more options’. Once you have decided which Meal Plan you would like to try, download the Meal Plan by tapping the green download icon, then press ‘save’ to save it to ‘My Meal Plans'.
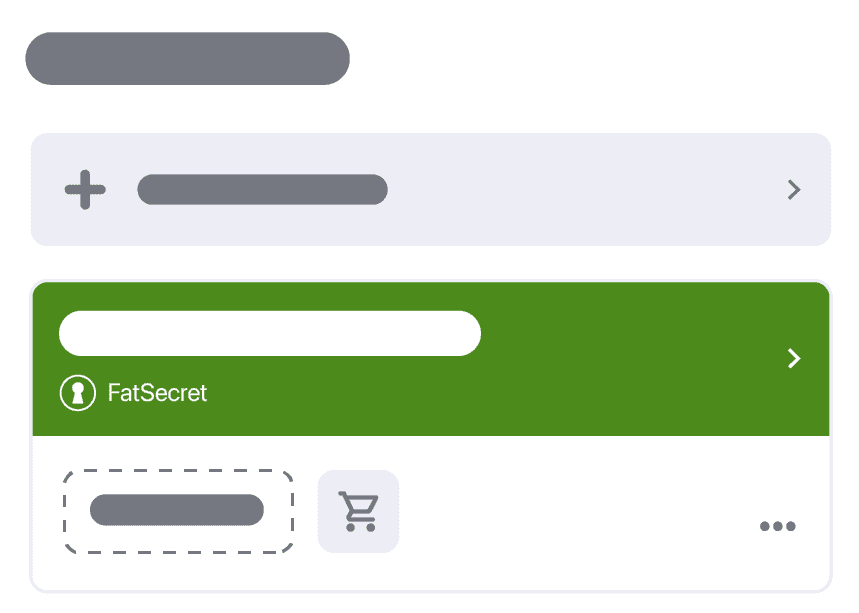
Open Your Plan
Once you have saved your Meal Plan, you will be taken to the ‘My Meal Plans’ page.
Here you will see all the Meal Plans you currently have saved (this includes all Dietician-designed Meal Plans you have downloaded and any custom Meal Plans you have created.
Open the Meal Plan you just downloaded by tapping on it.
2. Review and Edit Your Meal Plan
Review Your Meal Plan
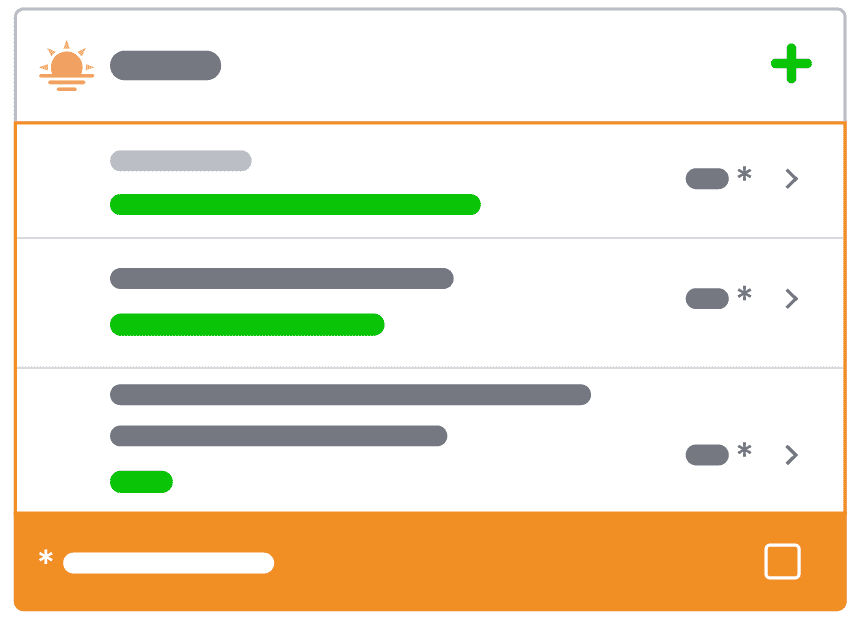
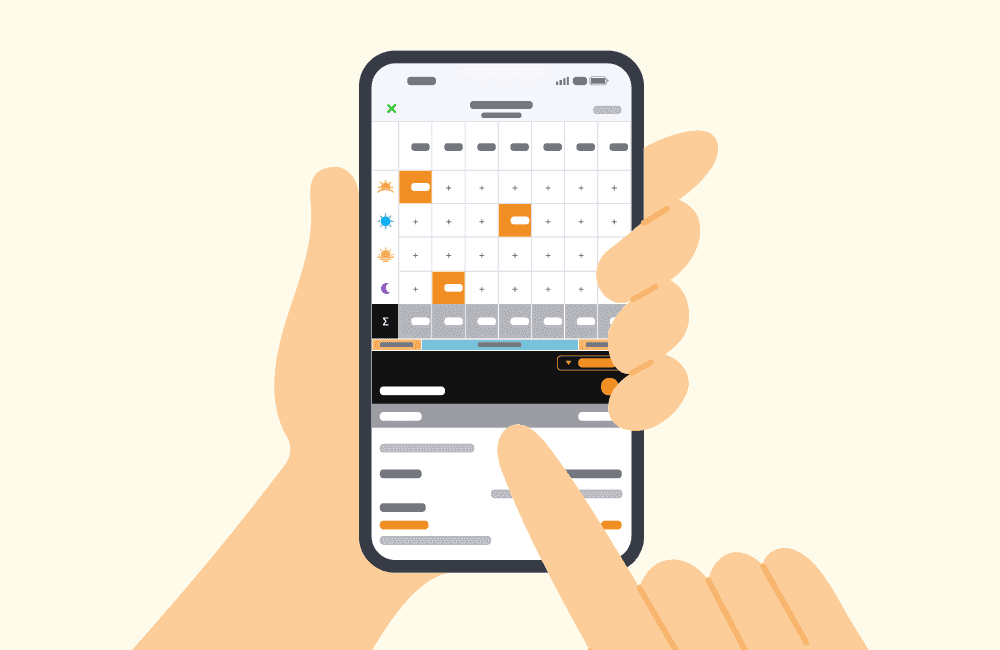
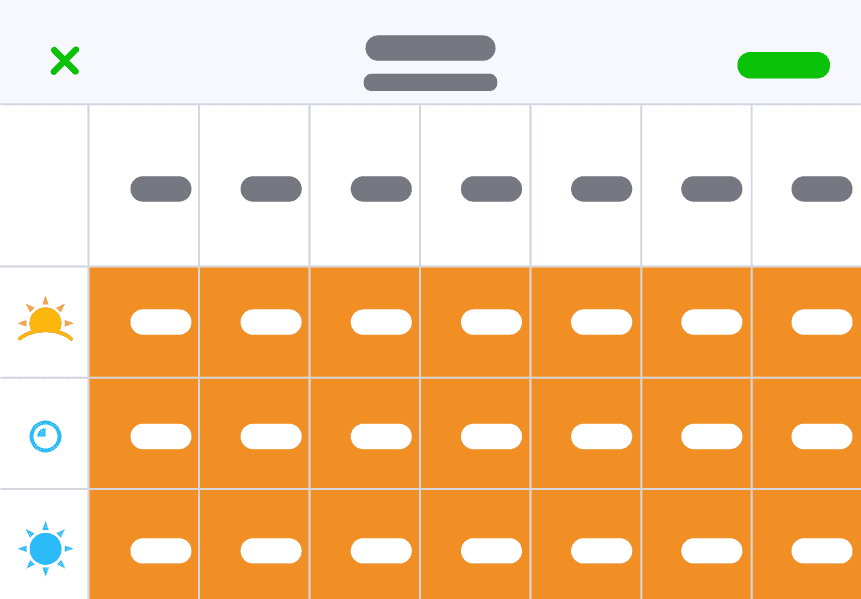
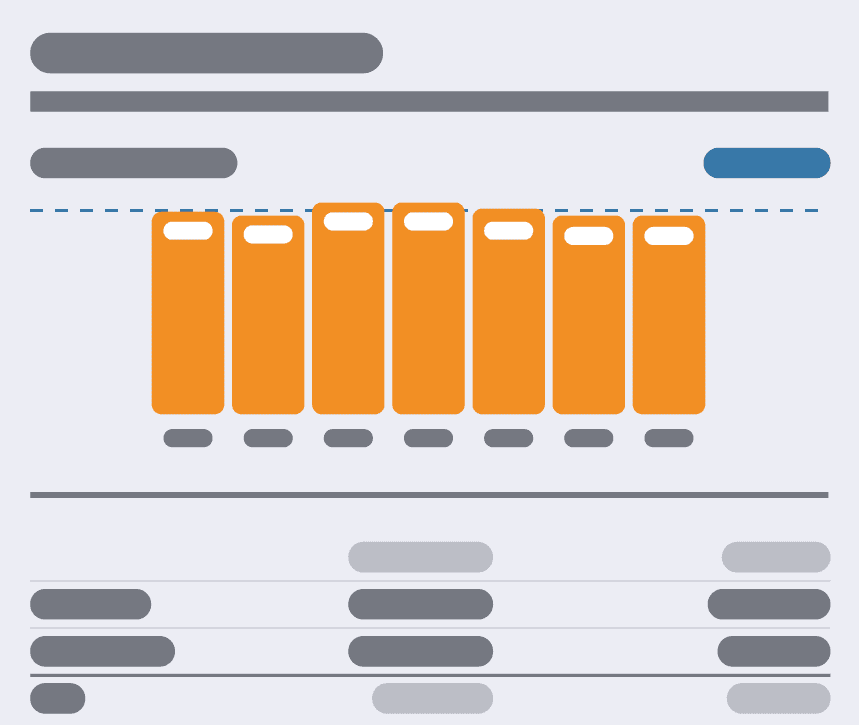
When you open your Meal Plan, you will see the Meal Planner overview page. At the top of the page is an overview of your meals for the week and their calories, displayed on a table.
- Calorie and macro summary
Below this table, you will find a summary of the average calories per day and a breakdown of the macronutrients in the plan.
- Daily breakdown
Underneath the summary, you will find a daily breakdown (by meal) of the foods in your plan.

- Nutrition summary
At the bottom of the Meal Planner overview page, you will find a Nutrition Summary that includes breakdown of the calories, kilojoules, protein, fat, carbohydrates (sugars and fibre) and sodium within the current Meal Plan. This will update automatically if you decide to make any edits to the Meal Plan.
Edit Your Meal Plan (Optional)
When reviewing the Meal Plan, you have the option to edit any of the meals to meet your needs/ preferences. However, be mindful that this is an advanced option as you need to ensure any food swaps are equivalent in both calories and macros to ensure a balanced plan.
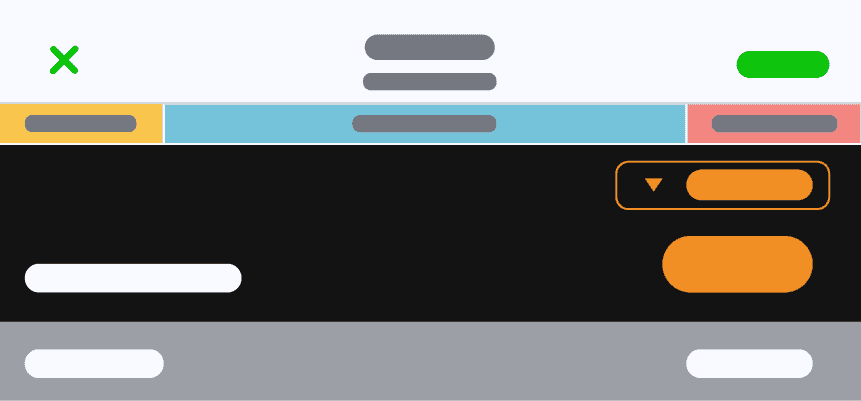
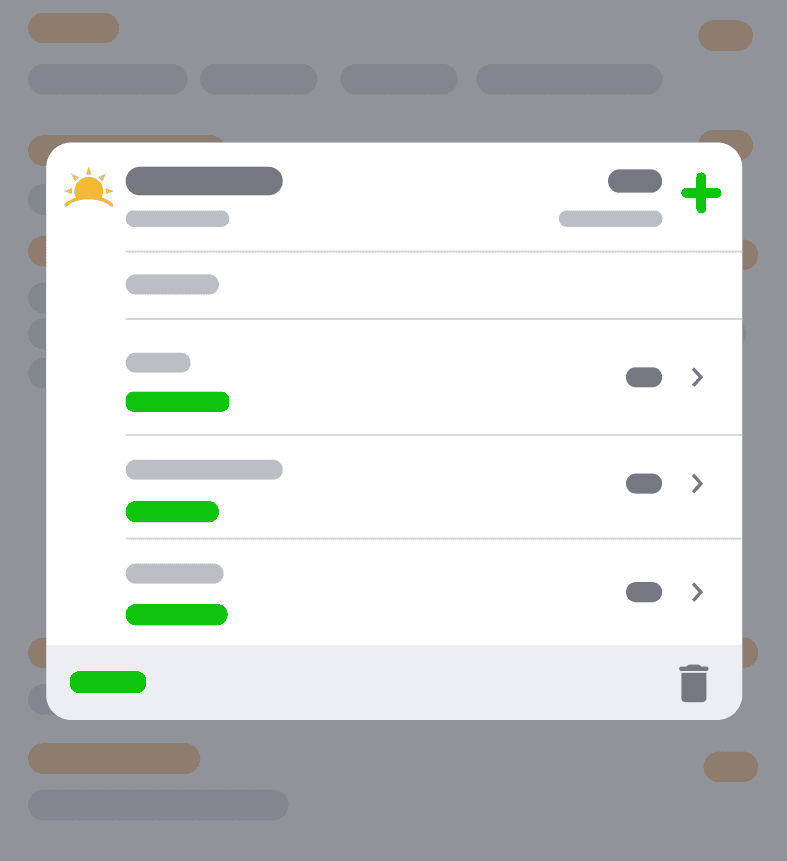
If there is a meal you would like to edit, tap either on the calorie count for that meal in the table, or on the specific meal in the list of foods. This will open a summary of the foods in the meal.
Delete a food by swiping left on it, or edit the serving size by tapping on the specific food. You can add a new food to the meal by tapping the + icon, or delete the meal entirely by pressing the trash can icon. Once you have finished editing, your meal plan will automatically update.
3. Schedule Your Meal Plan
Once you finish reviewing your Meal Plan, tap ‘Next’ (in the top right corner).
Select Dates
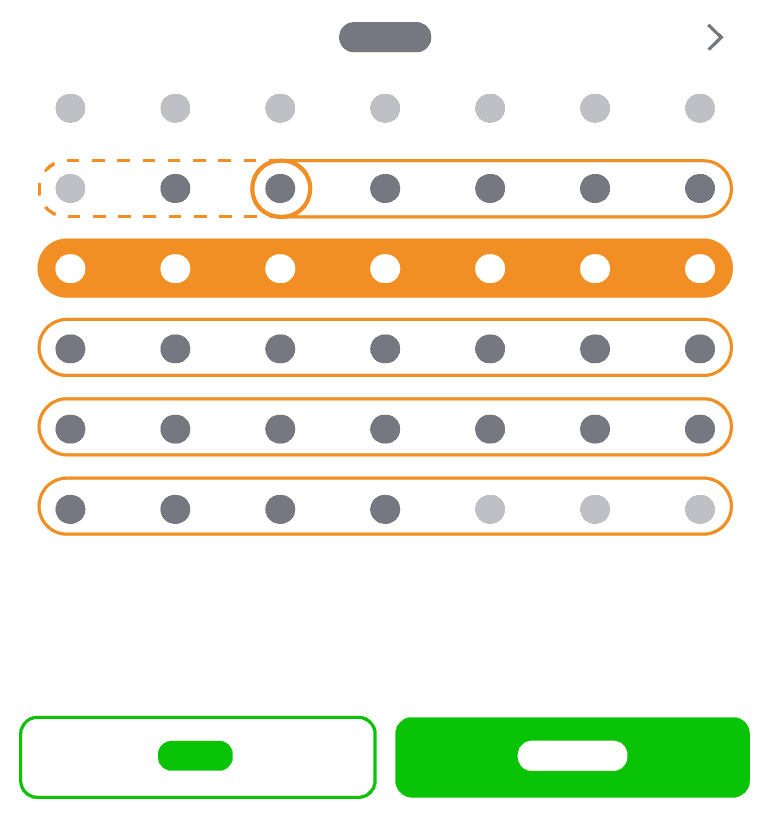
You will be taken to the Schedule Meal Plan page. Here, select the week (or weeks) you would like to schedule your Meal Plan, then press ‘Done.' Now, all meals in your plan will automatically be added to your Diary for the weeks you chose. We recommend giving yourself at least a few days to complete your grocery shopping before starting your plan.
Once you tap ‘Done’ you will be taken back to your Meal Planner overview page. You will now see that your Meal Plan is scheduled for the week you selected.
View Your Meal Plan Shopping List
When you are ready to go grocery shopping, tap the shopping cart icon (to the right of the scheduled dates) to bring up your shopping list. This list includes quantities of all the foods that make up your Meal Plan and makes shopping simple.
4. Verify Your Meals
The last step to using a Meal Plan is ‘verifying’ each meal, each day in your Diary. Until you verify the meal, the food is not logged. So this step is important!
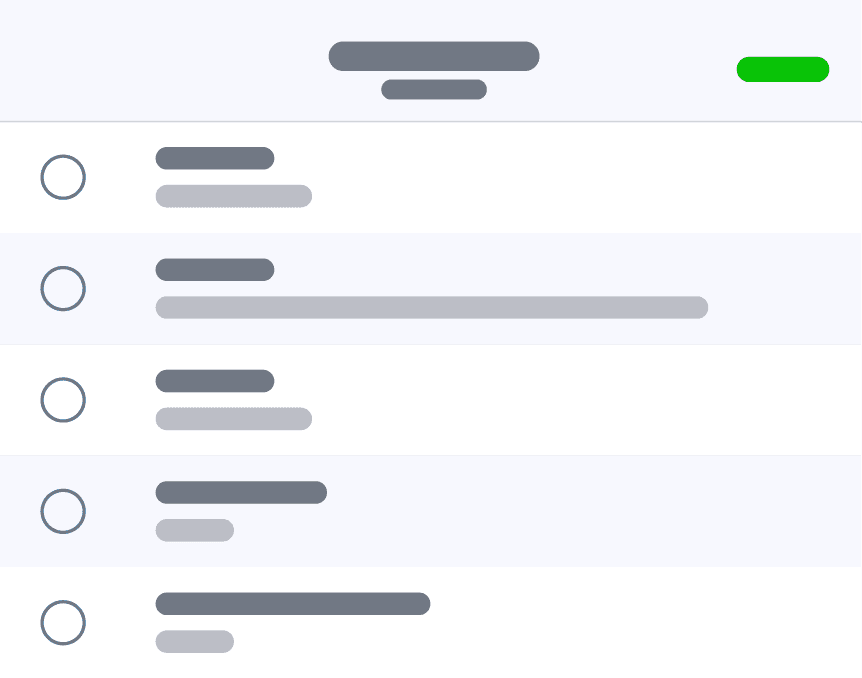
How to Verify
If you ate the meal as planned, simply tap ‘I ate these foods’. You can also delete foods that you didn’t eat, edit the foods to adjust serving sizes or add additional food items before verifying the meal.